Methods to repair CNC machine tools include calibration, lubrication, replacing worn parts, updating software, diagnosing electrical issues, and ensuring proper alignment.
Check hydraulic pressure
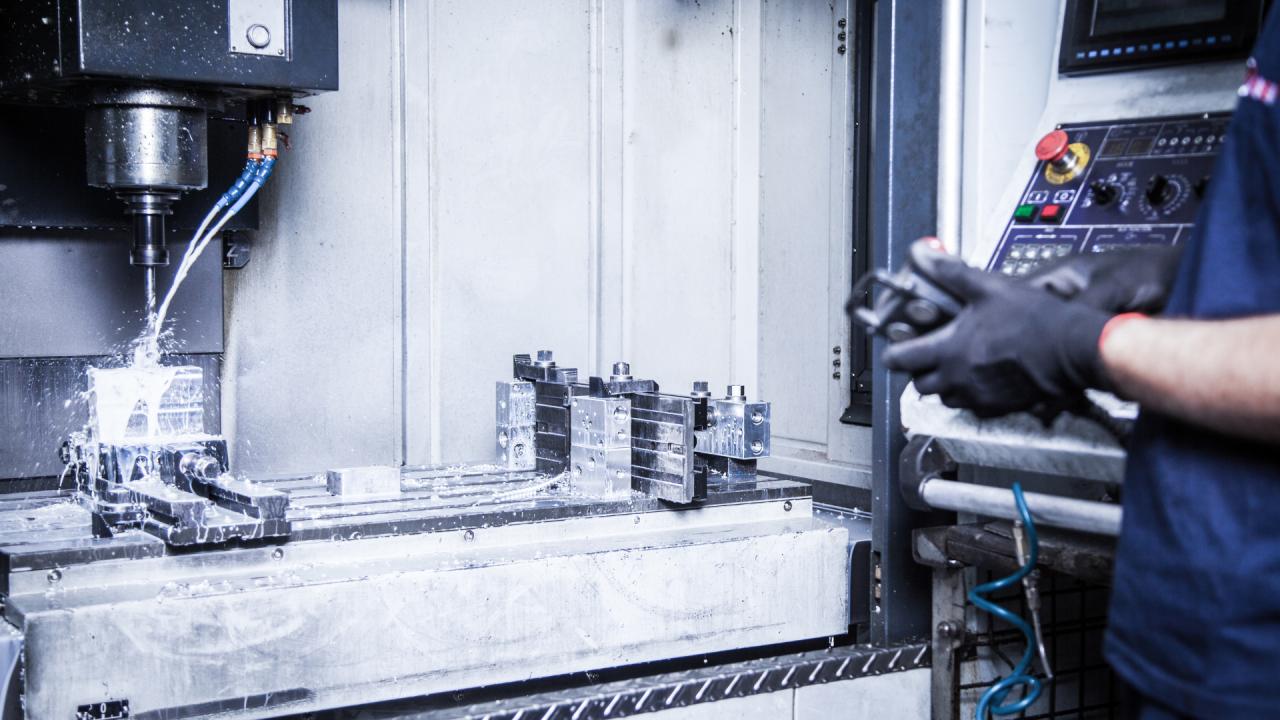
When maintaining CNC machine tools, it is essential to carefully monitor the hydraulic pressure. Hydraulics are used for all the critical functions operated at such machines, such as tool change and clamping. To check the pressure accurately, the following steps should be taken:
-
Use a calibrated hydraulic pressure gauge. Checking the pressure without this tool will not provide the preciseness required.
-
Carefully read the manual or other specification provided by the machine’s manufacturer. The range of hydraulic pressure can vary significantly depending on the model. For example, it in the case of a standard CNC machine, the acceptable pressure is in the range of 1500-2000 psi.
-
Compare the pressure with the recommended range. Any difference between the provided digits and the pressure you have detected shows that there is a problem with the hydraulics.
-
If the hydraulic pressure is lower than needed, check the hydraulic lines for leakage or some sort of obstruction. If the lines are leaking, the pressure that can be applied to the machine will be lower than needed.
-
In case anything is leaking, tighten the corresponding connections. The replacement of the leaking hydraulic tubes or seals is also crucial to restore the intactness of the hydraulic pressure system.
-
After the repairs, and the replacements have been made, repeat the initial step and check the hydraulic pressure once more.
For example, if the hydraulic pressure requirements of the machine’s manufacturer are 1500-2000 psi, after the measurements the gauge shows 1400 psi, some repairs should be made immediately. Following this guideline, the malfunction of the hydraulic system will be identified qualitatively earlier, which will result in less downtime and more effective work of the machine.
Check hydraulic oil
One of the critical aspects of maintaining CNC machine tools is inspecting the hydraulic oil. Hydraulic oil lubricates and cools multiple parts of the machine, making its operation smooth and preventing overheating. Here is how to effectively check the hydraulic oil.
Steps:
-
Locate the hydraulic oil reservoir – usually, it is near the hydraulic pump or on the machine’s side.
-
Remove the reservoir’s cap or access panel; avoid contaminating the oil.
-
Take the dipstick or look in the sight glass, depending on the machine’s design, to see how much oil remains. Inspect whether the oil level is between the lines so that it is within a sufficient range for a CNC machine. Otherwise, add some oil – between the minimum and maximum lines on the dipstick – to the reservoir.
-
Inspect the oil – if debris, water, or some unusual color of the fluid appears, it is contaminated and the machine parts will not perform as well or for as long. You may need to drain and replace the oil, as well as inspect and clean the hydraulic filter to avoid new contamination.
-
Return the access panel or the reservoir cap safely back.
- Make sure to turn on the machine briefly to let the new oil flow through all of the components and see whether there are any unusual sounds or leaks.
For instance, if the manual specifies that the hydraulic oil levels between the minimum and maximum marks on the dipstick and there is less oil than the minimum mark, than it is possible to add some oil to the reservoir. Thus, maintaining hydraulic oil through following this meticulous step will help ensure that the hydraulic system is well lubricated and the CNC machine tool operates and serves the manufacturer sufficiently for a long period.
Check grease and chuck pressure
When it comes to maintaining CNC machine tools, it is critical to check both grease and chuck pressure. Proper grease levels to lubricate the machine’s components are necessary to guarantee its accuracy and extend the service life of its parts. Meanwhile, taking care of chuck pressure is crucial for clamping work pieces securely. To check grease and chuck pressure effectively, one needs to follow these meticulous steps:
-
Identify grease fittings and the chuck pressure gauge on the machine.
-
Use appropriate equipment to insert grease through the grease gun into the fittings. Do not forget to check on each component that requires lubrication. It is advisable to consult the machine’s manual to choose the proper type of grease and intervals of greasing.
-
Keep track of the chuck pressure gauge to confirm that it matches the recommended spectrum. The right chuck pressure keeps the work pieces in place during machining.
-
If the grease fittings remain out of reach or the grease does not flow, eliminate the obstacles from the fittings by cleaning them.
-
Change the chuck pressure using a machine’s settings or manual devices. Depending on the work piece’s material and size, the right chuck pressure varies.
-
Check the grease levels alongside chuck pressure continuously as the machine runs and adjust them if necessary. Machine tools will work at peak efficiency if one of the two is channeled through the machine as needed.
-
Regularly examine the chuck jaws and grease fittings to check the level of their wear and tear. If some elements turn out to be eroded, they should be replaced at once, or it will lead to more severe problems of operating the machine and can also put safety at stake.
-
Record all checks of grease and chuck pressure in the machine’s maintenance log. It is especially advisable to note all abnormalities and tactics of assigned repair.
For example, the recommended chuck pressure for a CNC machine may be between 80 to 100 psi. A CNC machine operator tests the pressure gauge and identifies that it reads below 80 psi. One of the following steps is to adjust the pressure to the optimum value.
Check lubricant level
When maintaining CNC machine tools, it is imperative to regularly check the level of lubricant. Lubrication is critical to reducing friction, removing heat, and avoiding premature wear of the machine components. The steps to check the lubricant level are provided below:
-
Locate the lubricant reservoir or sight glass provided on the machine. The reservoir is generally near the spindle or on the side of the machine.
-
Clean the area where lubricant is stored as this will contaminate the lubricant level in the sight glass or dipstick.
-
Overview the level of lubricant in the sight glass or dipstick. It is above the low mark or below the full mark. This level should fall between these marks. Check your machine’s manufacturer, as some have a pink ball that goes to the bottom when lubricant level is low.
-
If the lubricant level falls below the low mark, add proper lubricant in the machine. Some machines identify the type of lubricant and suggest viscosity in the machine’s manual.
-
Check if the lubricant is out of shape, e.g., particles in the lubricant. Check the lubricant for contamination and replace it, as this may increase friction and wear of the machine components.
If it detects that the lubricant is contaminated, start by draining and replacing the lubricant as per the manufacturer guidelines. Check the filters or screens and clean the same, if required. Once the lubricant is at the correct level and is not contaminated, lock the lubricant into the reservoir. Start the machine for few seconds to allow the lubricant to travel the system. Check if any abnormal sound or other things are emerging. For example, the required lubricant level of machine falls between the low and the higher side in the sight glass. After the checking, it sees that the machine lubricant is falling below lower side, so it is necessary to add the lubricant to the specified limit as mentioned in the sight glass. Following these steps, CNC machine operators can maintain their machine components’ lifecycle and ensure good lubrication.
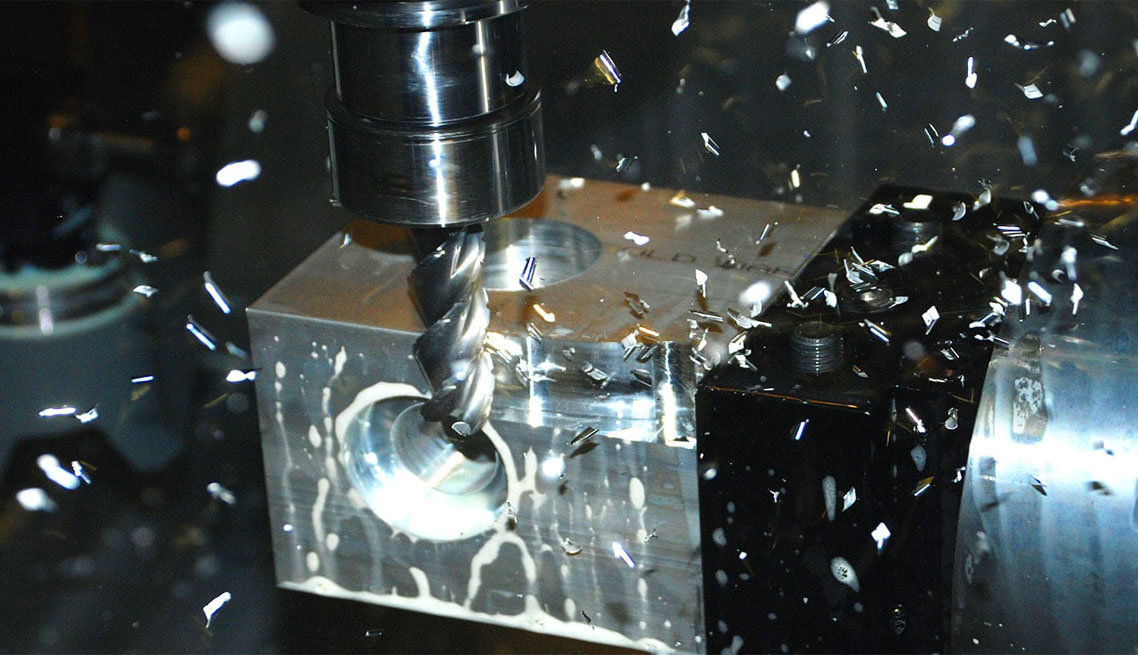
Clean up chips
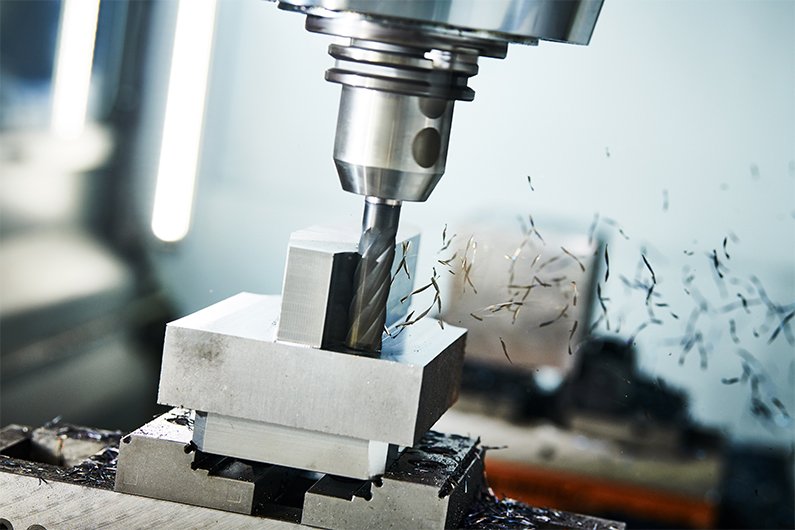
When it comes to maintaining CNC machine tools, cleaning up chips has been shown to be a central practice in ensuring their continuous operation and avoiding damage to their other components. Generally, chips, which are also referred to as small pieces of metal or other materials produced during the machining process, can pile up in the machine’s work area and interfere with its operation if they are not quickly and regularly cleared. Here, one can find detailed steps to adequately and effectively dealing with the problem.
-
Firstly, power off the machine and lock it out. It is important to make sure that no accidental start-up is possible.
-
Wear required personal protective equipment such as gloves and other safety gear designed for protection against sharp edges and pieces of metal flying off the cutting area.
-
Next, brush off loose chips with a chip brush or remove them using an air gun. The work area to be focused on may include the cutting area itself, the chip conveyor, and the surrounding floors and surfaces where chips are likely to roll. Besides being able to quickly pile up on top of the machine table, chips can be also found around the tool changer, as well as around or on the nozzles of the coolant or cutting fluid misting system.
-
Speaking of the chip conveyor depending on the type of the CNC machine, check whether it is not clogged and there is no build-up of chips in it. If there are any detected, remove them and make sure that the machine is evacuated of chips before the next cycle of operation.
-
Dispose of the chips you have gathered safely in designated bins or barrels. It is important that no chips are left on the floor and other surfaces as they present a risk of slipping and tripping. After the chips have been safely disposed of, the most frequent place of their build-up, which is the chip conveyor, must be inspected again for accumulations of built-up chips.
-
Next, check the different parts of the machine for signs of damage and general signs of wear. The latter can generally result from the presence of chips among such places that are likely to contain trapped chips are also the taper of the spindle, as well as the holders of the tool. If required, use a vacuum cleaner or compressed air to clean them and other hard-to-reach spaces taking care not to blast or blow the chips into contact with the software machinery and electrical connections.
-
Finally, do a dried off run of the machine and examine the work area and the whole machine to make sure that no chips or their particles are left and everything is in order and clean.
For instance, if the recommended frequency of chip clean-up for a CNC machine in use is after each operation, and during the check-up for chip accumulation in the chip conveyor after five successive jobs, it was found to be full, now is the time to do an effective chip clean-up and check-up to avoid further problems, since a full-up chip conveyor may result in a jam of the machine causing unnecessary delays.
Clean doors and windows
Doors and windows of CNC machine tools should be kept clean to allow the operator to see what is going on in the machine performing its operations. Therefore, whenever the work of a CNC machine tool operator implies using coolant to prevent friction and injury, it is vital that the doors and windows are cleaned as well.
Here are some detailed steps one has to follow in order to clean the doors and windows.
-
The machine has to be shut down and locked out.
-
The operator should gather the necessary equipment that includes mild detergent or solvent, clean rags or towels, and a spray bottle of water.
-
The operator should spray the doors and windows with water to wet the accumulated dirt or coolant.
-
The operator should apply a small amount of detergent or solvent to a clean towel or rag and wipe the surface of the doors and windows to remove dirt, grease, or other dirt accumulation. Corners and edges should be wiped through as well as they are usually that most dirty.
-
The operator should rinse the doors and windows with clean water to remove any detergent or solvent left on them.
-
The surfaces should be wiped with a clean dry towel or rag dry to prevent water spots.
-
The operator should carefully inspect the doors and windows and see if they are in good condition without scratches and cracks. If the edges of the doors are dirty or coming off, they should be repaired.
-
The operator should unlock the machine and inspect the insides also to see whether there is any accumulation of dirt, which scatter into the coolant later.
-
The operator should write the results of the inspection.
For example, if the manufacturer percent of the coolant has to be used once a week on a CNC machine and the door window is very dirty, it has to be cleaned and made clean according to the steps described above. Using such a consistent approach will ensure that the CNC machine tool operator is able to see the parts whenever it is at work and prevent accidents from happening.
Wipe the stainless steel cover
After the overall function, the surface of the CNC machine tool requires special care when it comes to regular maintenance operations. Wiping the stainless steel cover fro the CNC machine tool to keep up its appearance and prevent it from being gradually covered by existing deposits or other kinds of corrosion. Not only does the cover of the machine tool creates the overall appearance of the machinery, but it also protects inner components from being affected by outside forces and contaminants.
-
Make sure that the CNC machine tool is turned off and locked. It is done to prevent mistakenly starting the machine during the cleaning process.
-
Gather cleaning necessities, which include a soft piece of cloth or a microfiber cloth and a non-abrasive detergent or cleaning solution.
-
Spray the stainless steel cover with the cleaning solution. Make sure not to overspray the cover, and it must be done just enough to start cleaning the surface.
-
Wipe the stainless steel piece of the CNC machine tool in the direction of the grains. Use the soft piece of cloth or microfiber for the cleaning process while preventing the use of harmful materials or abrasive substances.
-
Use smaller circular motion on areas that can get clogged or suffer from scratches, perhaps with buttons, handles, or sections that are obscured in the coat mostly with seams.
-
After the completion of the cleaning process, use the dry part of the cloth or the cloth that has not been used on the surface yet, to finish the cleaning process and start to buff the surface to shine, removing all the leftover cleaning or detergent solution.
Make sure to check the stainless steel cover, notice any excessive signs of scratching, or damaging that was not noticed beforehand. In which case, the cleaning process can actually worsen the condition of the piece that is used to achieve the aesthetic and the protective function of the cover. The cleaning process is an example of regular maintenance operations. For example, if the wrapper of a CNC machine tool is required to be cleaned at least once a day, and during that period the cloth was checked to reveal fingerprints or smudges left on the surface. It is done to indicate the need for future cleaning operations. Due to this, the cover of the CNC machine tool stays in perfect order, and not only does it continue to have its outstanding appearance, but also the life expectancy is improved.